March
8
February
24
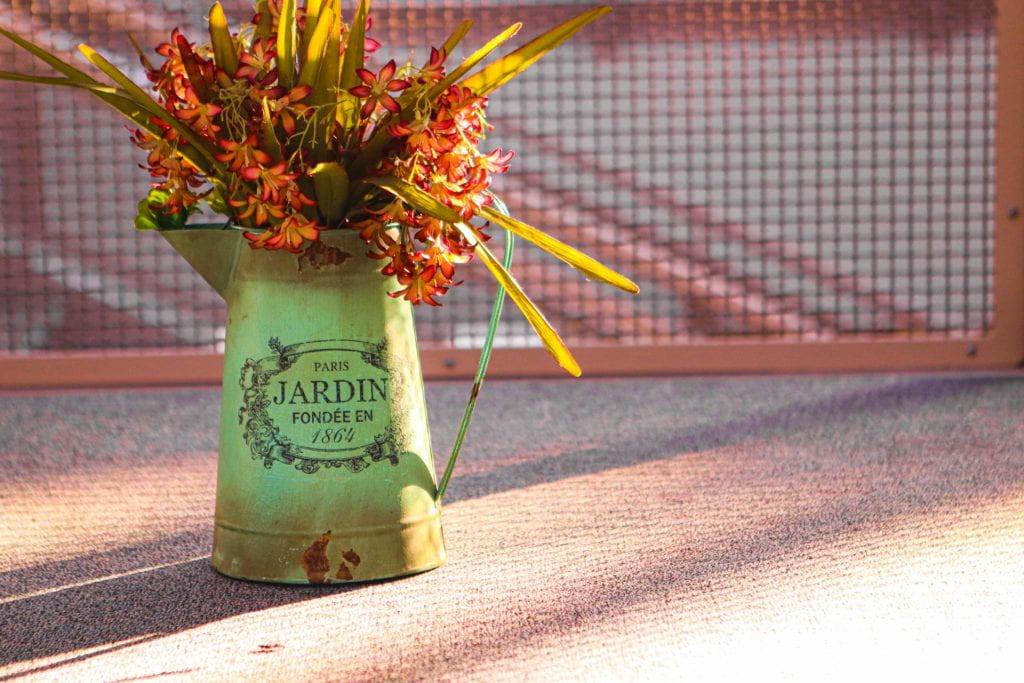
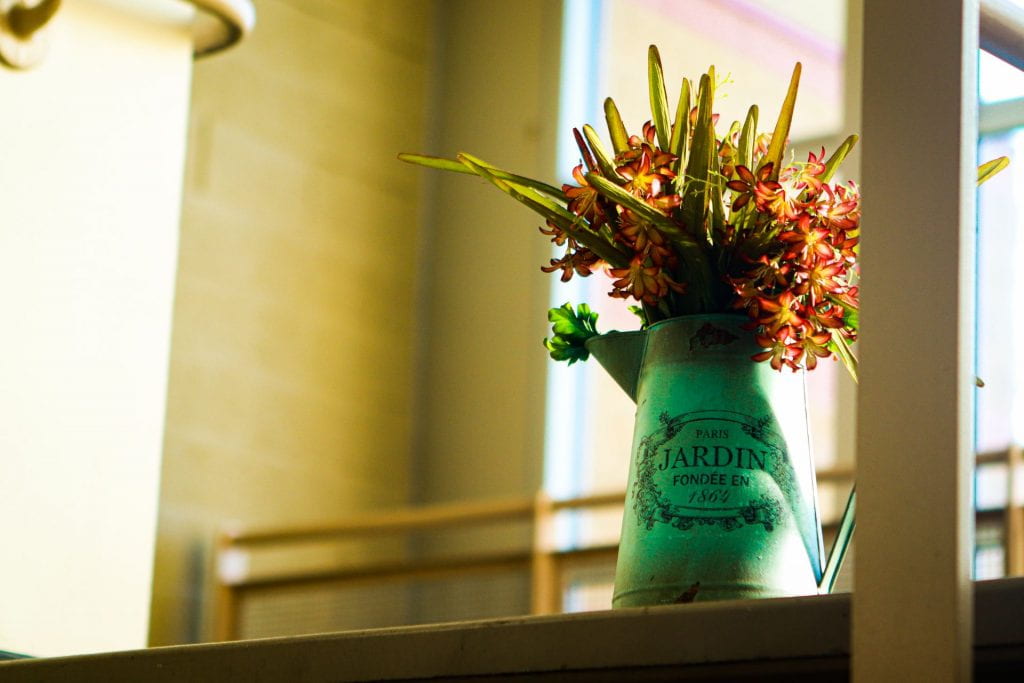
What Is Your Color?

February
24
Cultural Identity Photographs


February
15
Favorite Teacher with Bounced External Flash

February
3
History of Photography Timeline

The two inventions that impress me the most is the first negative created by Henry Fox Talbot and the upgraded Kodak camera that hold 20 feet of film. I’ve always been interested in the process of developing film and always wanted to try it out. I feel like the whole process make you more appreciative of your shots. When you spend hours in developing each photo instead of editing it in photoshop for a few minutes, I would assume you would enjoy each shot more.
January
29
On Location Portraits Using Bounced External Flash


January
28
Flash vs. Natural Light Photo Comparison


Personally I like the Natural Light photo better than the Flash photo. I like both of them but the rim light really brought life to the natural light, while the flash and rim light kind of combat in the flash photo. The flash did make for an interesting shot but I think its distracting me from what the photo is telling me. While the natural light looks welcoming and holds my interest.
January
28
External Flash Worksheet
1.) When would you use external flash?
You would use an external flash when you’re in low light or if you don’t have a good source of natural light.
2.) Do you need to meter the light if you use flash?
No because it would make the picture way to bright due to the flash coming when you take the shot.
3.) What does flash synchronization mean?
Flash synchronization is when the firing of the flash and the opening of the shutter happen at the exact same time.
4.) What does ETTL mean?
ETTL stands for Evaluative Through The Lens, meaning the system uses a preflash to improve the exposure.
5.) What will happen when you shoot faster than the camera sync speed?
If you shoot faster than the camera sync speed half of your photo will be black due to the flash lag.
6.) Why do photographers bounce the flash and use a diffuser?
Photographers bounce the flash with a diffuser to soften the light.
7.) What is a slave?
A slave is a separate light used in a different spot you’re shooting. For example, if you want a little bit of a rim light as well as your subjects face lit up, you’d place a slave behind your model.
8.) What should you so if you image comes out too dark or too light?
If your image comes out too light or too dark you should modify the aperture.
9.) How do you remove and put on the flash on the camera?
To remove the flash on the camera, you need to unlock the track and slid it off.
January
26
Read and Write: Introduction To Using Strobes
Light Sources
With professional lighting you generally have a choice between a kit with a flash head and power pack or a monolight kit. The first one usually has a flash head and a small power pack that acts as a generator. The flash head includes high voltage tubes to produce light. When using power packs you have two choices, symmetric power packs, power is split between multiple heads, and asymmetric power packs, you can vary the amount of light in each head. With the power pack, changing the setting of the lights are easy and quick. These kits also offer faster flash durations, coming in handy when you want to do freeze frames of a fast motion, providing faster recycle times. Due to a flash head and power pack kit having so much power, shooting outside during the day and combating the sun is a lot easier and smoother. Monolights are compact and portable but the power is limited. With the controls built directly into the lights, you need to control each one’s settings and adjustments separately.
With monolights, shooting indoors is your best bet. The relatively low power they carry, monolights do better in regular use than trying to combat the suns light during the day. While choosing between the two, the prices vary on both. Something yo need to remember is that the most durable equipment is made with metal, not plastic. Most lights use reflectors around the bulb. Models like the Profoto Acute/D4 flash heads come with a zoom reflector, providing more control of the light. Wide reflectors providing a large area of soft light and narrow reflectors providing a smaller area of harsh light.
Light Modifiers
With light modifiers, the most common choices fall on umbrellas and softboxes. Reflecting umbrellas cause a diffused soft light due to a large reflecting surface. When mounted, the strobe light is actually facing away from the subject or model to bounce off of the umbrella facing toward the subject or model. The umbrellas have 3 different colors, silver, white, and gold. Silver umbrellas focus more light more narrowly, white have a wide spread of light, and gold produce a warm tone. Softboxes are usually square or rectangular. They are lightweight boxes that have a reflective inside and translucent front. Softboxes, coming in different sizes, are attached to the front of the strobe light. Light bounces of the reflective sizes and portray light through the translucent front, providing a soft focused light on the subject, model, or scene. The main difference between the two is the spread of light. The light is more contained with softbox rather than an umbrella, where the light is more sloppy and affects the amount of light the model, subject, or scene is getting. A softbox is simply easier to control.
Some other useful tools include barn doors, snoots, and honeycomb grids. They are attached directly to the strobe. Snoots, conical shaped, narrow the distribution of light, creating a very focused, harsh light. These are great for rim lighting from behind your model or subject. Barn doors, flaps surrounding a strobe, is opened and closed to control light. Honeycomb grids, honeycomb shaped metallic grids, direct light for a more focused spread. Coming in different degrees, the size/closeness of the holes, can modify how focused the light is. Finally, flags, an opaque object, is placed in the way of light to direct it and prevent lens flares or prevent the light leaking.
Grips and Stands
You cant use any strobe lights, light modifiers, or backdrops without having stands or grips. Lightweight stands and C-stands are the main types of light stands. They both are are heavy duty and vary in size, length, and price. When shopping for lightweight stands, air-shock stands are superior. They due a better job at protecting your lights if you lose a knob, by softening the fall of your light and minimizing the damage. When searching for a stand, also look for a wide foot one, which make them more sturdy. The price of a good quality lightweight stand will be around 70 bucks.
C-stands are more expensive by are heavy duty and very stable, but don’t typically have air-shocks. They are usually used in the video industry due to the stability and durability. These stands usually come with attachable arms for light modifiers and reflectors. Due to them being heavier that the lightweight stands, they are more sturdy in windy environments for shoots outside. The price usually ranges up to 200 bucks, but you can sometimes find them for much cheaper.
January
26